
Stabilized whipped cream is a delightful topping that adds a special touch to many desserts. If you’ve ever made whipped cream and noticed it loses its fluffiness after a while, you know the importance of a good stabilization method. Making stabilized whipped cream is essential for holding its shape and texture longer, making it perfect for cakes, pies, or any desserts that need a creamy finish.
This recipe uses simple ingredients to enhance the typical whipped cream. By adding a stabilizing agent, you can maintain that light and airy quality while ensuring it lasts for days in the fridge. This whipped cream is perfect for festive occasions or everyday desserts, making each bite feel special. You’ll find that it holds up beautifully under heat and time, making it ideal for gatherings, parties, or even as a quick topping on a slice of your favorite pie.
Moreover, learning how to make stabilized whipped cream gives you a skill you can use over and over again. Everyone loves the taste of freshly whipped cream, and with this recipe, you won’t have to worry about whether it will stay fluffy. It brings a nostalgic feel to your desserts, reminding you of homemade treats from childhood.
How to Make Stabilized Whipped Cream
To make stabilized whipped cream, you will need the following ingredients: heavy cream, powdered sugar, and gelatin. These three simple ingredients are all you need to create a delicious topping that holds its shape.
First, start by sprinkling 1 teaspoon of unflavored gelatin over 2 tablespoons of cold water. Let this mixture sit for about 5 minutes until the gelatin absorbs the water and swells up. This is important because it helps the whipped cream to stay fluffy longer.
Next, gently heat the gelatin mixture until it dissolves completely. You don’t want to cook it; just make sure it’s clear and smooth. Set it aside to cool slightly.
In a mixing bowl, pour 1 cup of heavy cream. Use a hand mixer or a stand mixer to start whipping the cream on a low speed. Gradually add 2 tablespoons of powdered sugar while continuing to whip. The sugar helps sweeten the cream and adds the perfect touch.
Once the cream starts to thicken, slowly add the cooled gelatin mixture while beating at medium speed. Continue whipping until soft peaks form. Be careful not to overwhip; you want it to be light and fluffy. Your stabilized whipped cream is now ready to use!
How to Serve Stabilized Whipped Cream
Stabilized whipped cream is a versatile topping that can elevate many desserts. You can serve it on top of cakes, cupcakes, and pies to add a lovely richness. It’s particularly wonderful on chocolate cake, where it balances sweetness perfectly. A dollop of stabilized whipped cream can transform a simple dessert into something extra special.
You can also use stabilized whipped cream to top fruit salads, where its creamy texture complements fresh fruit beautifully. For a quick treat, try serving it with brownies or grilled peaches for a delightful contrast of flavors.
For a fun twist, consider creating parfaits by layering the whipped cream with your choice of berries and granola. This makes for a beautiful and tasty presentation. Serving it in individual cups also adds a personal touch to any gathering.
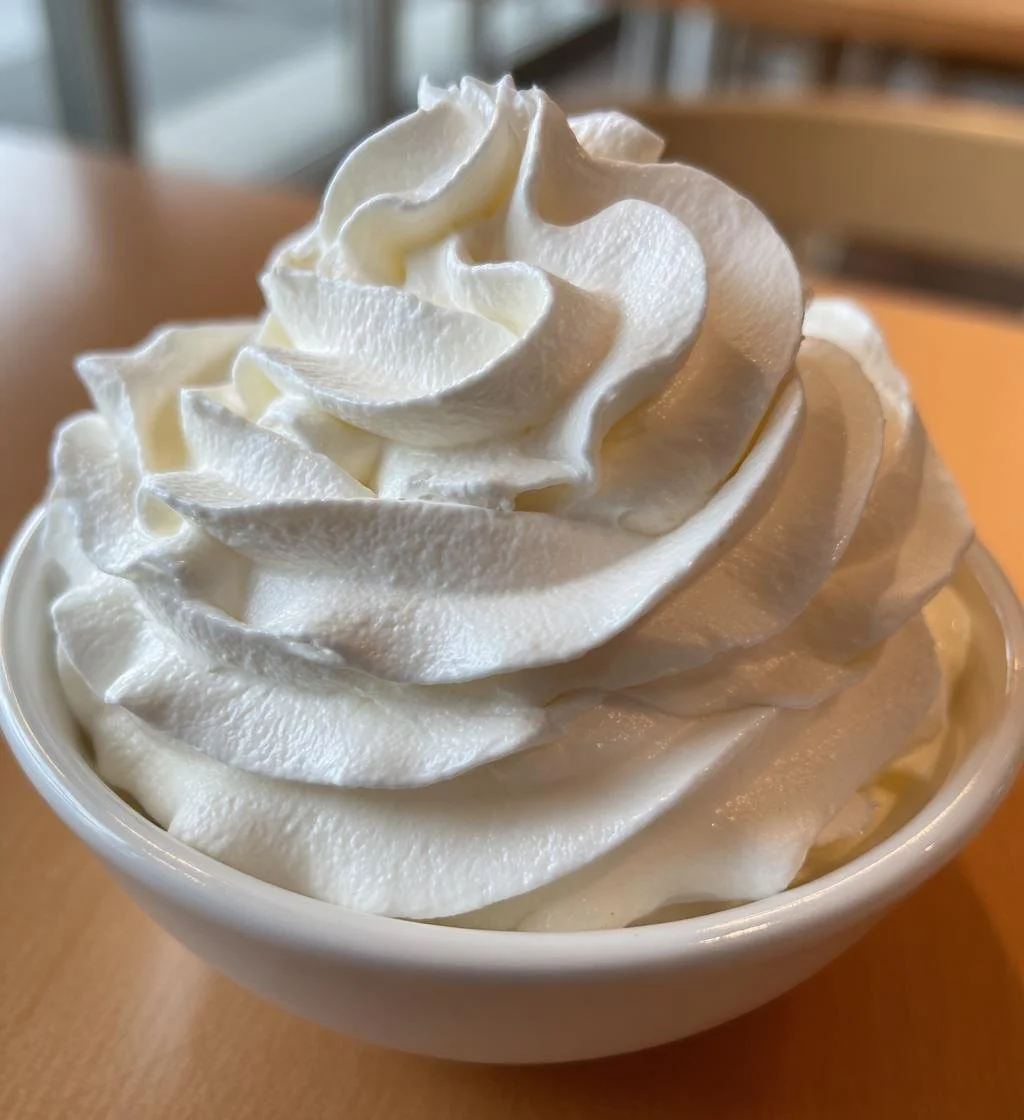
If you’re hosting a dinner party or celebration, a bowl of stabilized whipped cream placed at the center of the dessert table invites guests to serve themselves. Whichever way you decide to serve it, stabilized whipped cream is sure to impress.
How to Store Stabilized Whipped Cream
Stabilized whipped cream can be stored in an airtight container in the refrigerator. It is best to use it within 3 to 5 days for optimal freshness. If you have leftovers, make sure to keep the container tightly sealed to prevent it from absorbing any odors from the fridge.
If you need to store it longer, you can also freeze stabilized whipped cream. Scoop it into a freezer-safe container or bag, making sure to press out all the air. When you are ready to use it, simply thaw it in the refrigerator for a few hours. Whip it lightly again before serving to restore some of its original fluffiness.
Take care not to refreeze whipped cream multiple times, as this can affect the quality. Always mark the date on your container or bag to easily keep track of how long it’s been in storage.
Tips to Make Stabilized Whipped Cream
To create the best stabilized whipped cream, keep a few tips in mind. First, always start with cold heavy cream. Chilling your mixing bowl and beaters in advance can help achieve better volume and texture. Cold ingredients whip better and give you more air in the cream.
Next, be careful with the gelatin. Make sure you let it cool slightly before adding it to the whipped cream. Hot gelatin can cause the cream to lose its texture.
Don’t overwhip the cream; stop whipping as soon as you see soft peaks forming. Overwhipped cream can turn grainy quick, which is not the texture you want. If this happens, gently fold in a bit more heavy cream until it smooths out.
Lastly, feel free to adjust the sweetness according to your preference. If you like it sweeter, add more powdered sugar.
Variation
There are several fun variations to try with your stabilized whipped cream. You can add vanilla extract for classic flavor or try different extracts like almond or peppermint for a twist. You can also mix in cocoa powder for chocolate-flavored whipped cream, perfect for topping hot cocoa or chocolate desserts.
Additionally, consider incorporating freshly grated citrus zest (like lemon or orange) for a refreshing hint. This can brighten up your whipped cream and pairs well with fruity desserts.
FAQs
1. Can I use regular whipped cream instead of stabilized?
Regular whipped cream can be used, but it may not hold its shape as long. Stabilized whipped cream is better for decorative purposes.
2. What can I use instead of gelatin?
If you prefer a vegetarian option, you can use agar-agar as a substitute for gelatin. Use the same amount and prepare it according to the package instructions.
3. How do I know if my whipped cream is overwhipped?
Overwhipped cream will appear grainy and can start to separate. It’s best to stop whipping as soon as you achieve soft peaks.